Tracking Tips: Choose The Right Gear For The Best Home Studio Sound

Getting a great vocal recording from a modest home studio can be tough, whether you’re speaking or singing.
There are so many entry-level microphone options available, from condenser to dynamic to USB, that it can be difficult to know what will work best for your particular situation. Here are some tips on how to pair the right gear together to get the best possible sound.
The Right Room & Treatment
The most commonly overlooked element of recording is treating the room. A little bit of acoustic absorption combined with an sE Reflexion Filter can go a long way in improving the quality of your audio. Try to avoid setting up your studio in rooms that are perfect squares or cubes, as these rooms will have more disruptive reflections and require more acoustic treatment. A rectangular room where the length, width, and ceiling height are three different measurements is an ideal starting point.
Isolate Your Mic and Prevent Plosives
Isolate the microphone from the environment by using a sturdy microphone stand with a heavy bottom and a high-quality shockmount. A pop filter is also a necessary tool, as it prevents large bursts of air – such as “p” and “b” sounds – from hitting the microphone’s capsule all at once. If you’re using an X1 or 2200 series microphone, the sE Isolation Pack is a worthy investment.
Choose The Best Mic for Your Room and Voice
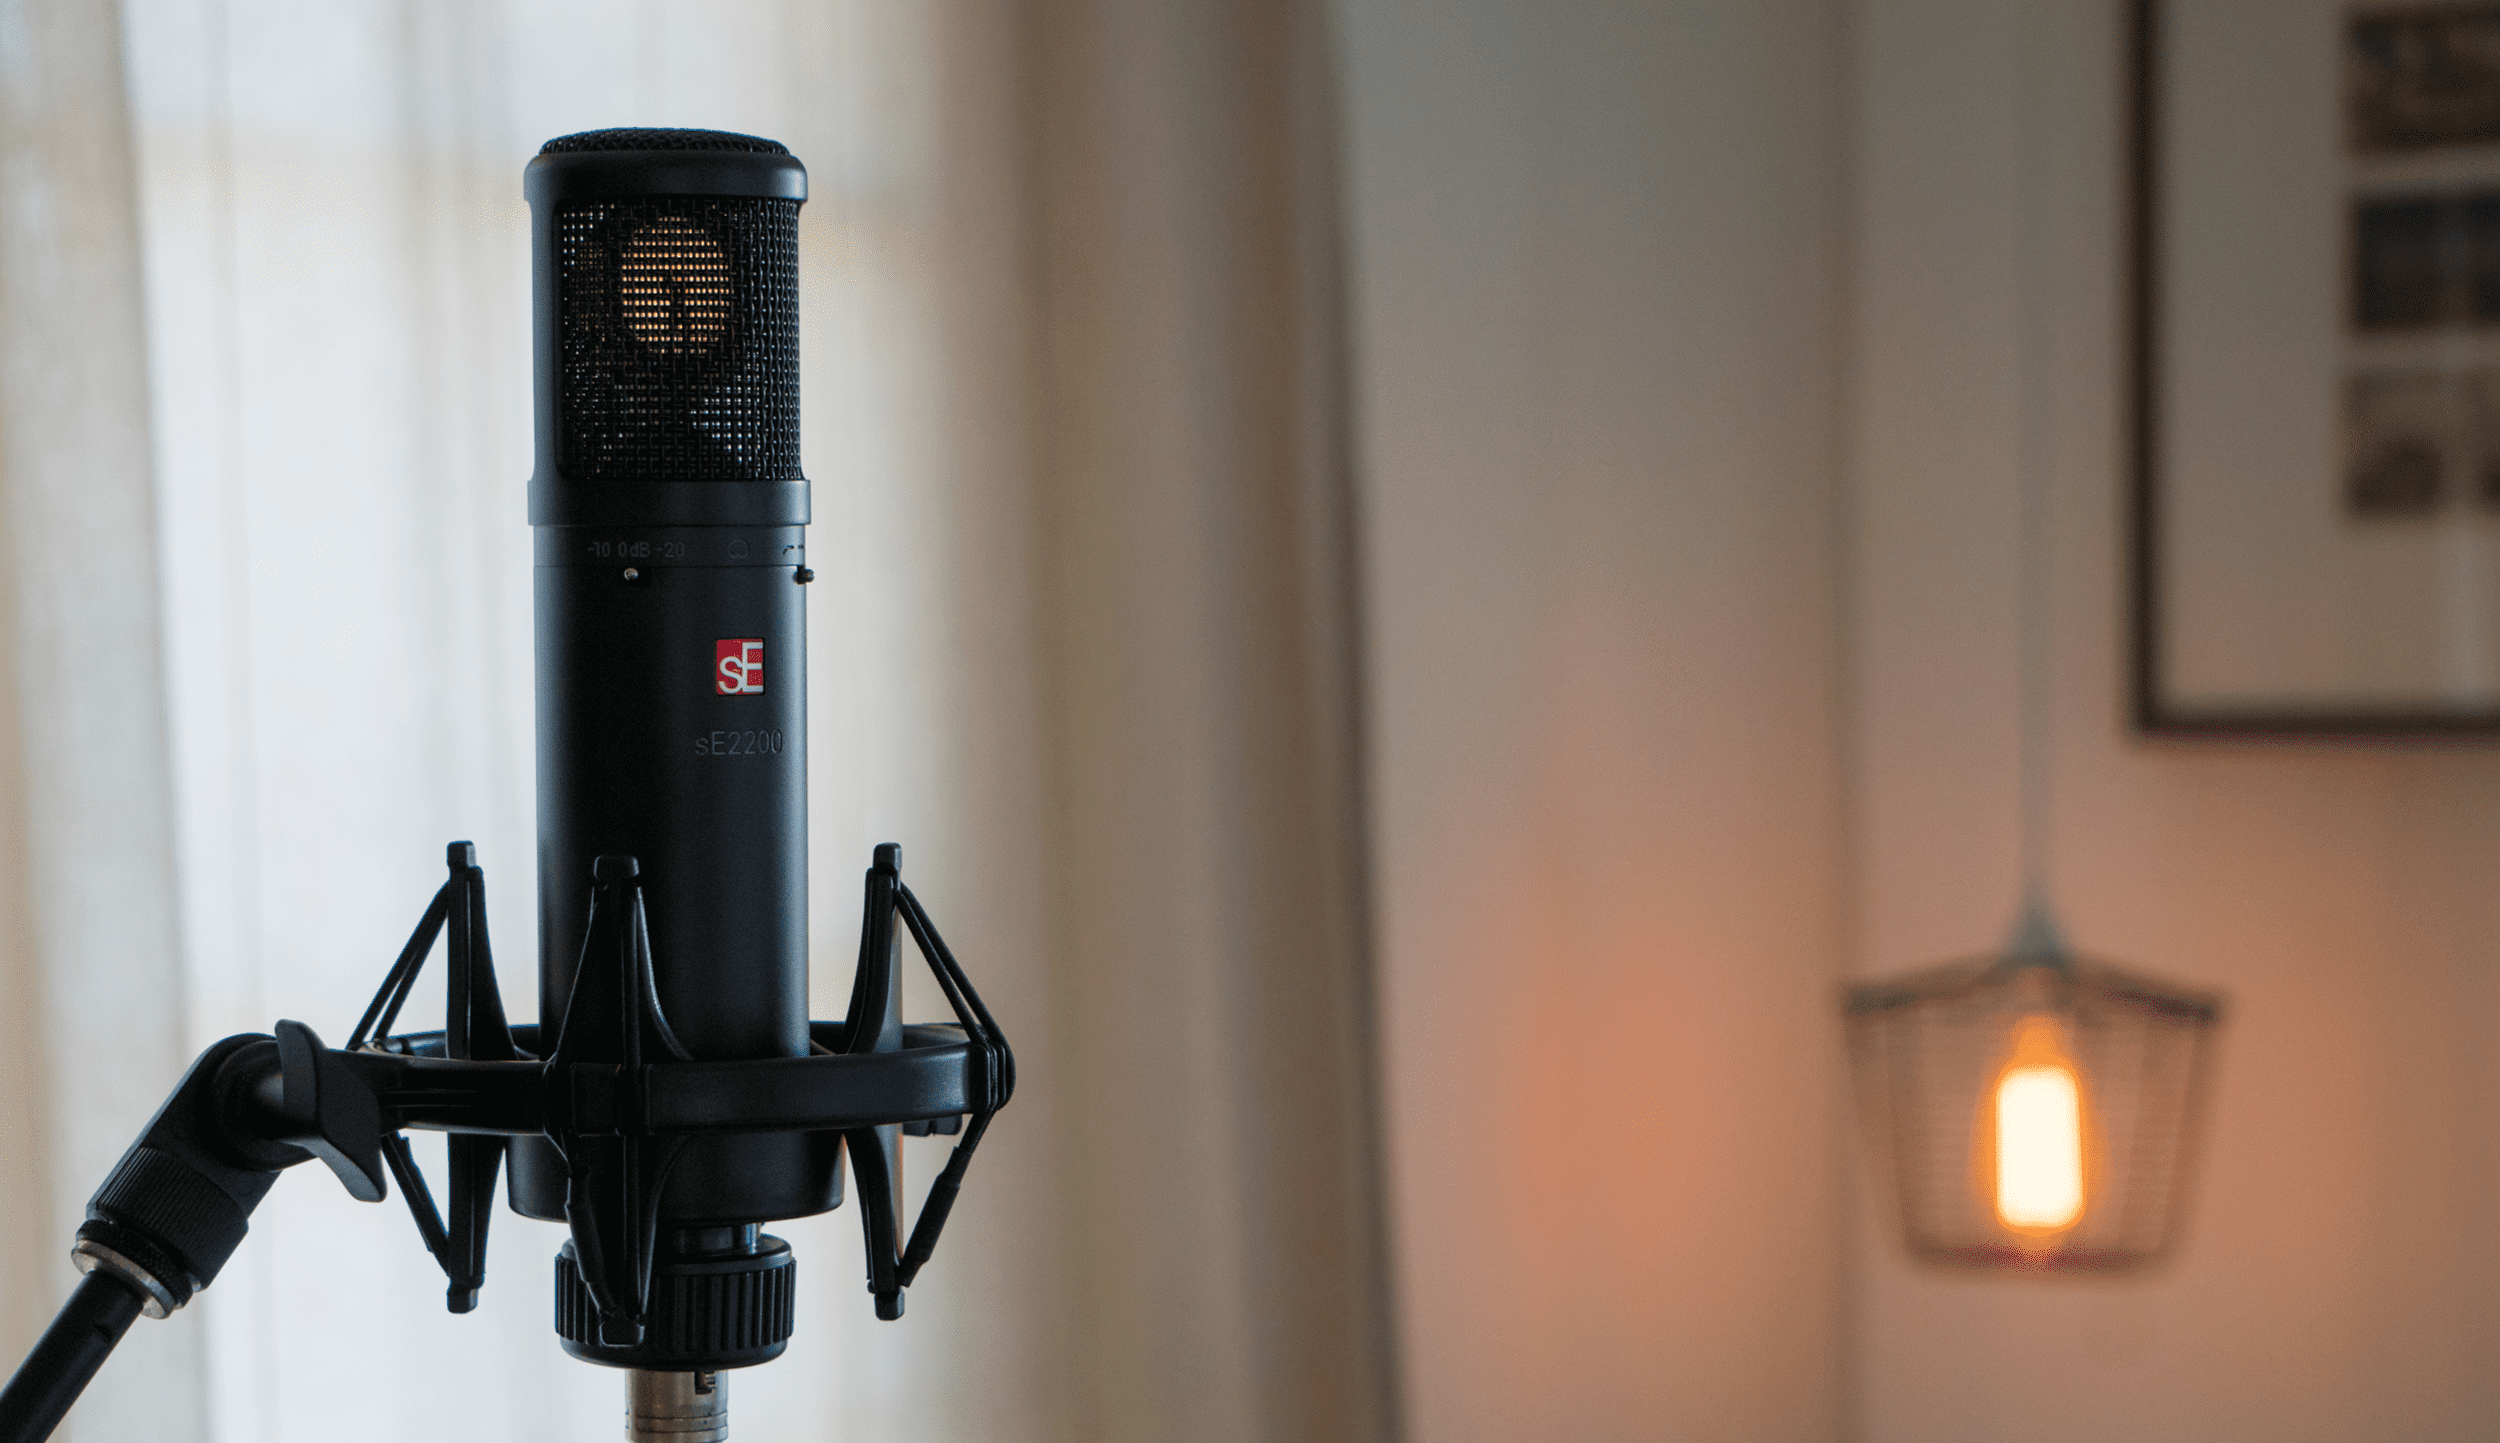
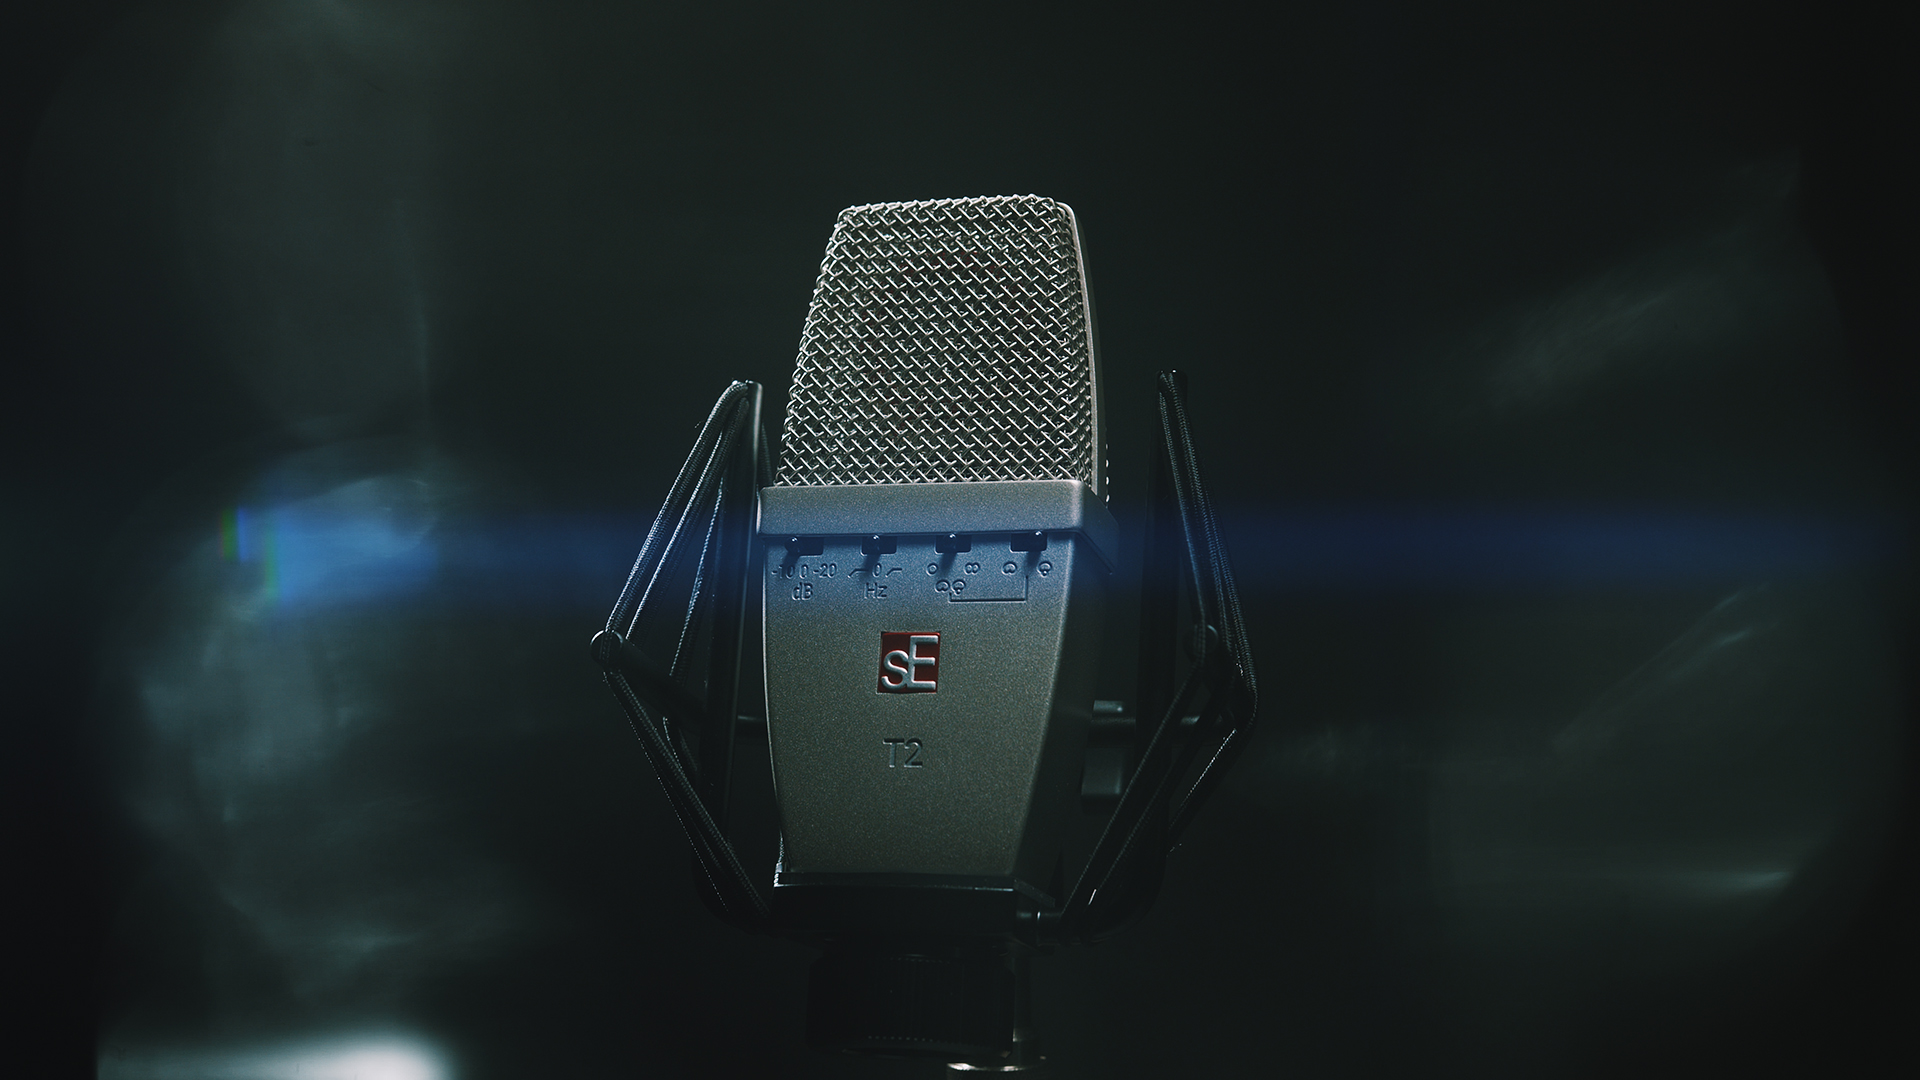
Finally, the fun part: picking out a microphone! A condenser microphone will provide the most detailed sound, but will also be the most susceptible to sonic disruptions. Street noise, a person talking in the next room, or a wobbly mic stand will likely be picked up on a condenser microphone. This can render a great vocal take unusable. A top-quality dynamic microphone, such as the sE V7 with its supercardioid polar pattern, can provide detail similar to a condenser microphone while more effectively rejecting sound from the back and sides.
Going with a dynamic mic? Try an inline preamp!
If you choose a low-output dynamic microphone, such as an SM7B, an inline preamp is a must. These mics require more gain from your audio interface’s built-in microphone preamp, often leading to a distractingly high noise floor. An inline preamp, such as the sE DM1 Dynamite, can add the necessary gain much more quietly, creating a better sounding vocal recording.
In part two of this series, we’ll talk about using the compression & equalization in your recording software to help your vocal sit appropriately in the mix!

