RF PRO
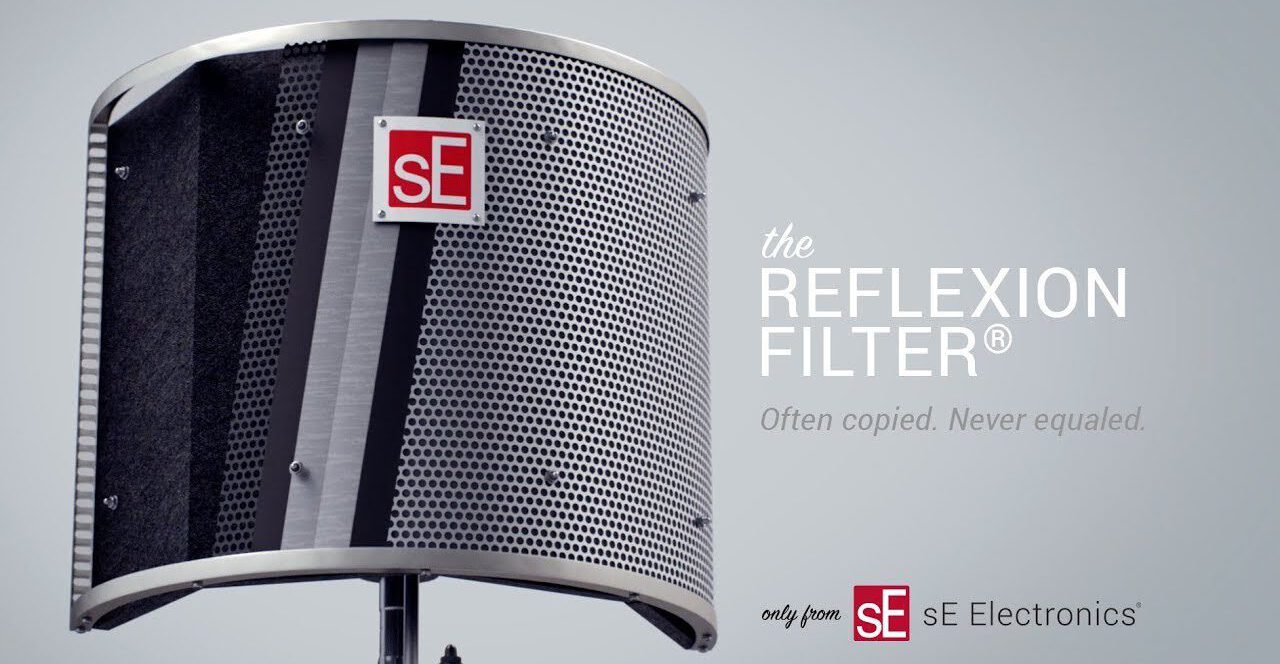
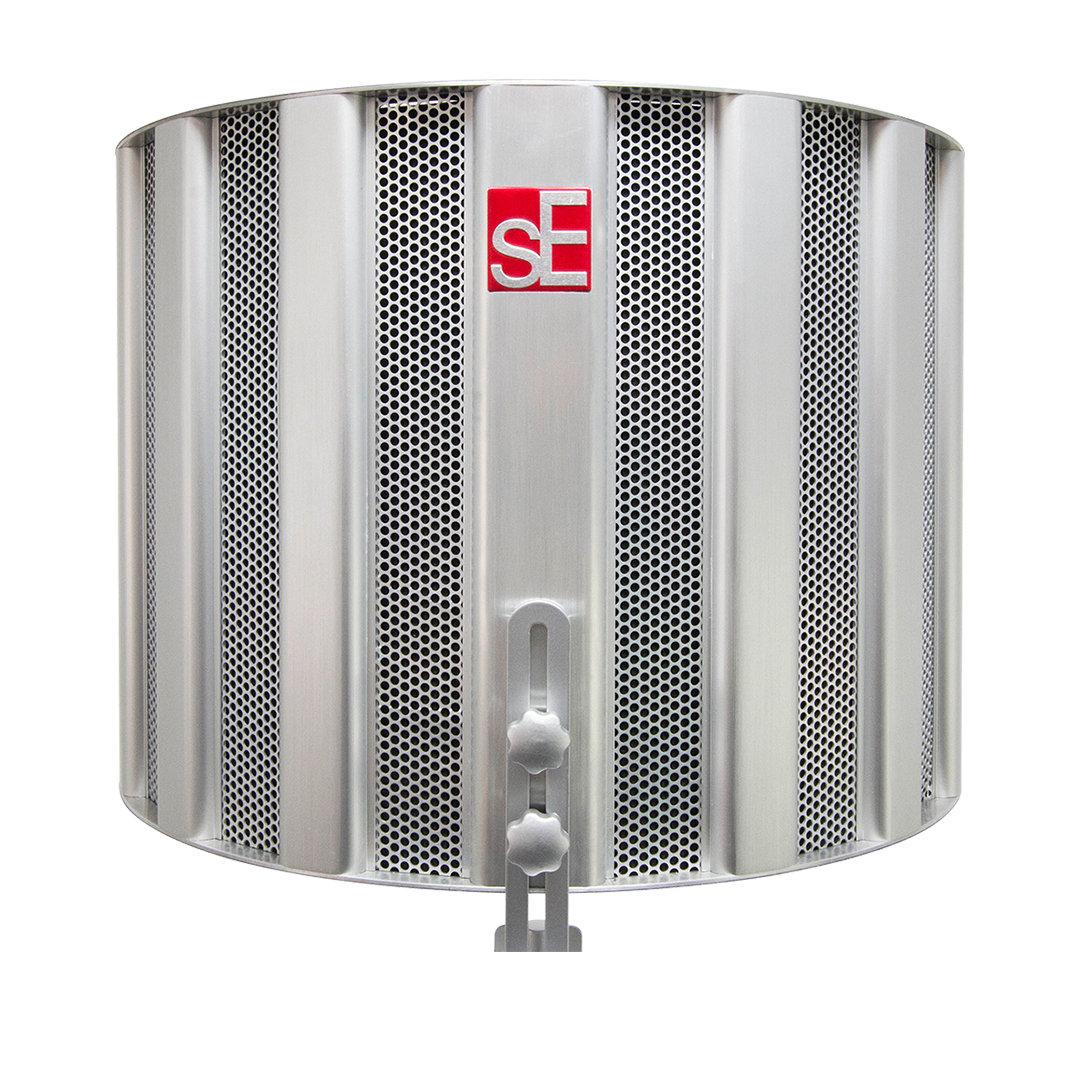
THE ORIGINAL, PATENTED, PORTABLE ACOUSTIC TREATMENT DEVICESince we invented the Reflexion Filter in 2006, countless units have made their way into studios and homes worldwide - and it remains indisputably the industry standard for portable, effective acoustic treatment.
Vocals, acoustic guitar, electric guitar cab, bass guitar cab, orchestral + strings, piano, woodwinds, brass, kick, room
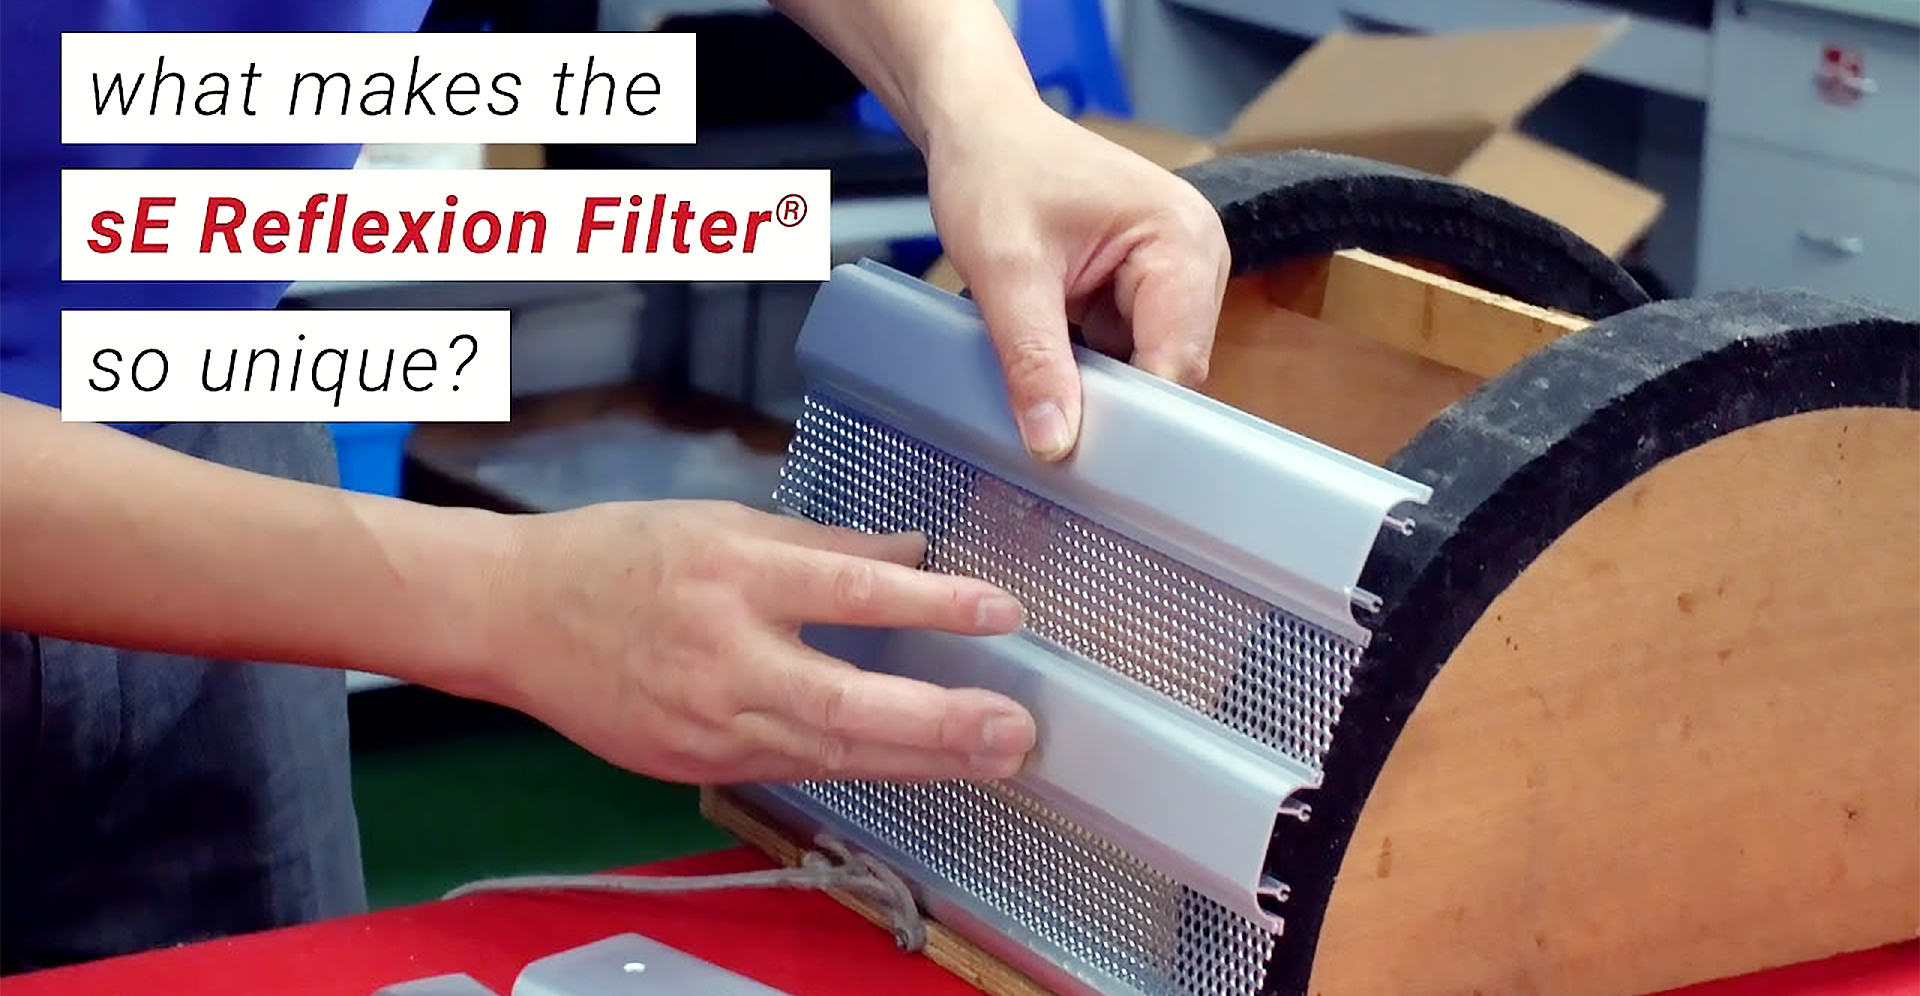
Inside the RF PRO
Specs
How do I set up my Reflexion Filter? Do you offer an instruction manual or video guide?
Video setup guides are located on the individual product pages for the RF-X, Reflexion Filter Pro, and RF Space, and all RF products (including the guitaRF®) have downloadable PDF setup guides as well. If you require further assistance with setting up your Reflexion Filter, please fill out our Support Request form and we will help you as best we can.
Will my Reflexion Filter work on a boom stand?
All of our Reflexion Filters are designed to work best with conventional (vertical) microphone stands. It is entirely possible to utilize them on a very sturdy boom stand, but great care must be taken to ensure proper balance and counterweighting, as the weight of the filter plus a microphone (especially an expensive microphone!) can be quite heavy. If a boom stand mount is necessary, we recommend securely attaching the filter to the boom arm first, making sure the whole assembly is extremely solidly positioned, and then attaching the microphone afterwards. We can assume no responsibility for damaged microphones if the boom arm decides to tilt down or around due to the extra weight put upon it, so please be careful!
My Reflexion Filter doesn’t seem balanced when I mount it on a stand. Please help!
When setting up your Reflexion Filter, the most important thing is to maintain the center of gravity. This means adjusting the position of the filter appropriately so that the combined weight of the filter and microphone is centered directly above the mic stand, not off to one side. Also check to make sure that all screws are tightened sufficiently to prevent slipping or movement of any parts.
